Attach Files to a Record
Some pages allow you to attach a file to a record. If this option has been enabled for a page and your associated Security Role ID has the Attach indication set to true for the associated Resource Group ID on the Access Control (SCRACS) security setup page, then attachments can be added, deleted, or viewed on both the results grid from a search and from within the meal view of record. In the grid attachment, management is facilitated by the paperclip icon. Within the meal view of a record, there is an Attachments button.
The number of existing attachments is indicated next to the paperclip icon in the grid and is indicated within the Attachment button. If the record does not have any existing attachments, then a number is not listed.
When the Attachment button is selected or the paperclip icon is selected, the Attachments window opens. The Attachments window has three tabs:
From the Upload tab, you can upload files that you want associated with the record.
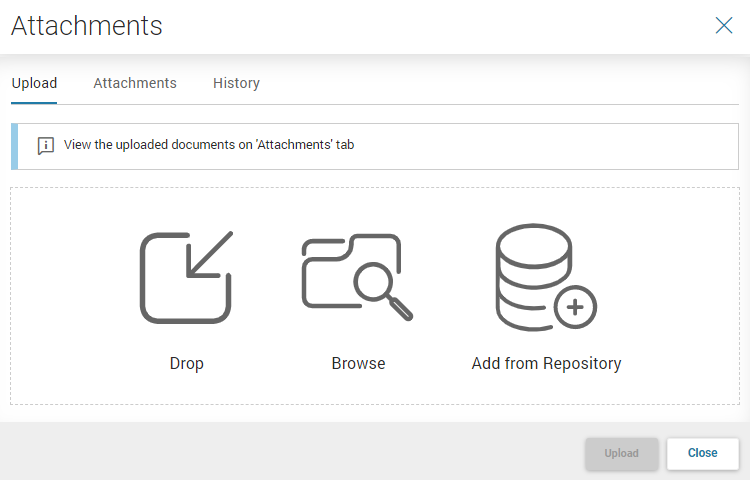
You can add records in one of three ways:
-
Drop - Drag a file from your computer to the Upload tab.
-
Browse - Select this option to browse your computer or other server you can access.
-
Add from Repository - Select this option to select a file that is available via an Enterprise Content Management (ECM) repository.
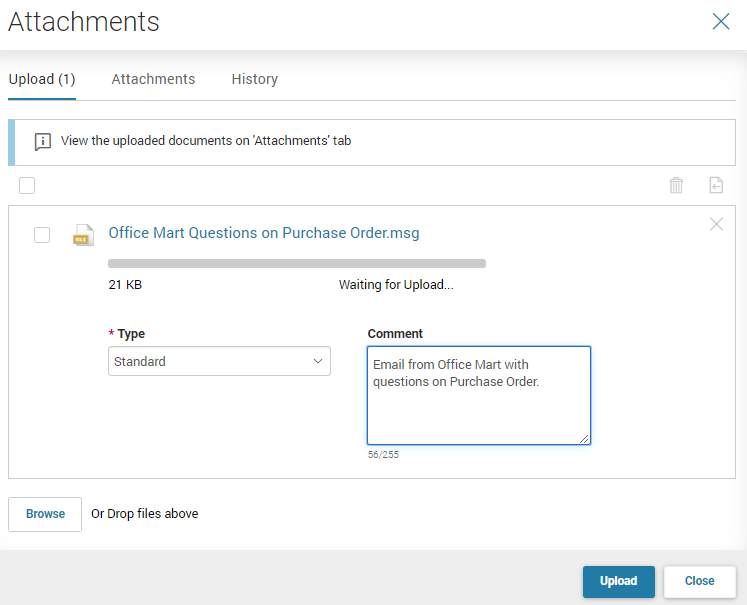
After selecting the attachment via the Browse option or after dropping a file on the Upload tab, you must populate the Type field and you can optionally specify a Comment that describes the attachment. Select Upload to upload the file to the reference page for the selected record. Files that are successfully added can be viewed via the Attachments tab.
The Attachments tab lists all attachments associated with the selected record.
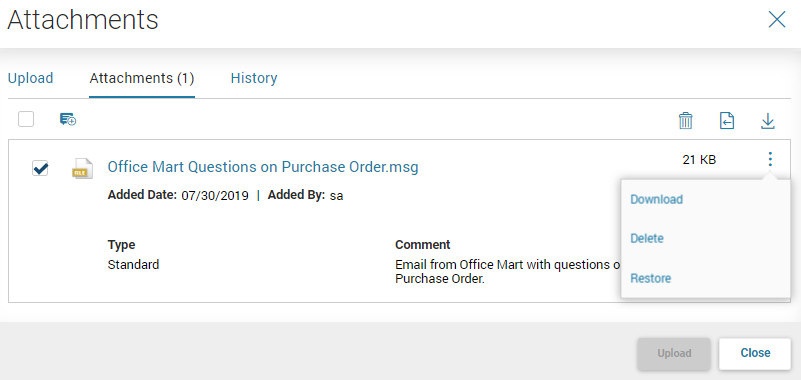
From this tab you can perform the following actions:
-
View the attachment by selecting the attachment name hyperlink.
-
Download the attachment by selecting the Download action from the row-level menu.
-
Download all attachments listed on the Attachments tab to a zip file, by selecting the Download All icon above the attachments listing.
-
Delete the attachment by selecting the Delete action from the row-level menu.
-
You can restore an attachment if the upload of the attachment was cancelled before it was uploaded, by selecting the Restore action from the row-level menu. Note: The Restore function is available in the Advantage Financial, HRM, and Admin applications only.
-
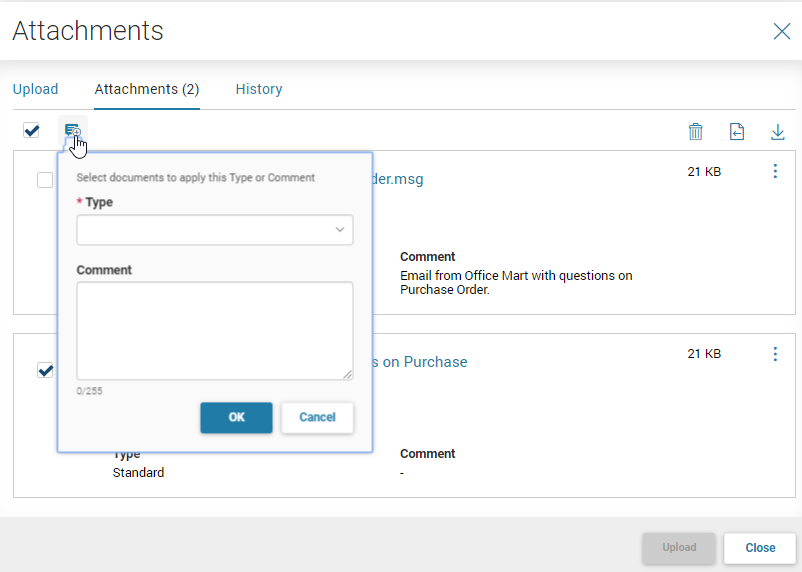
This tab also allows you to add a comment to an attachment or add the same comment to all selected attachments, by selecting the Add Comment Selected icon. In the following example, only one attachment was selected when the Add Comment Selected icon was selected; therefore, the values provided in the Type and Comment field will only apply to the selected attachment.
-
Note that there is a max viewable limit for the attachments displayed in the Attachments modal window. Refer to the "Transaction Attachments” topics in the CGI Advantage System Administration Guide for details.
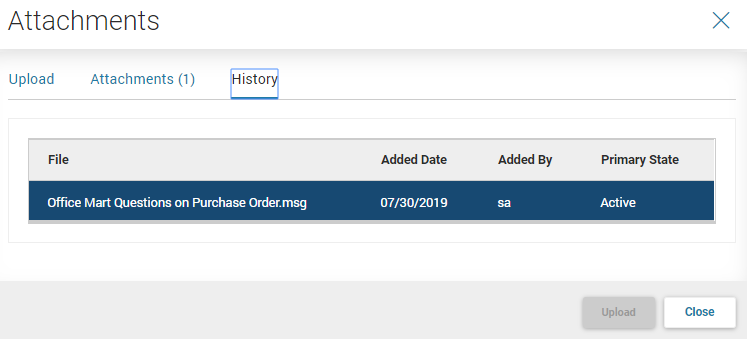
The History tab allows you to view a complete list of attachments ever associated with the selected record. This list shows the attachment file name, the User ID of the user that uploaded the attachment, and the date the attachment was added. The Primary State indicates the current status of the attachment (for example, Active or Deleted).