Appendix
D: Including Images within the Document Assembly Process
Steps:
- Create a word document or if you already
have .xml document (Word Document saved as .xml
using Microsoft Office Word 2003 or later) then
you can use that .xml document.
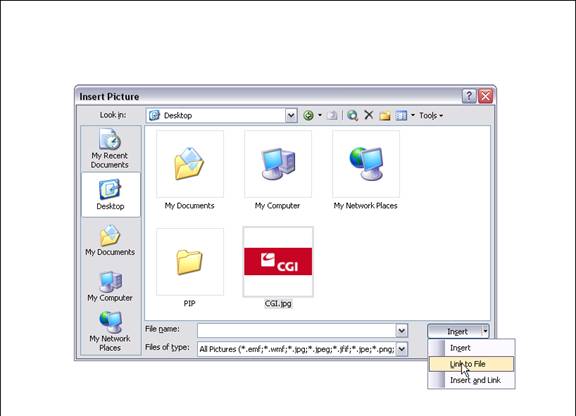
- If you have a picture,
you must first insert it as a link to the document (using the MS-Word
options "Insert-->Picture-->From File-->Link
to File"). Do
not insert objects directly into your document.
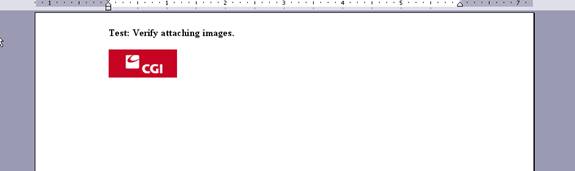
- Save this word document
as <document_name>.xml or if it already .xml just save it.
- Upload the .xml file
as an attachment to the T&C or Supporting Documents component
with an attachment type of Document XML.
- The picture file (.jpg
or .gif file) should be uploaded as a separate attachment with an
attachment type of Image.
The image attachment and the .xml file (with the link)
should be on the same document component (i.e. T&C or Supporting Docs).
Upload the xml -->
Insert a separate attachment record for your picture
attachment -->
After uploading -->
- Now
Run the Assemble Document job (on Header).
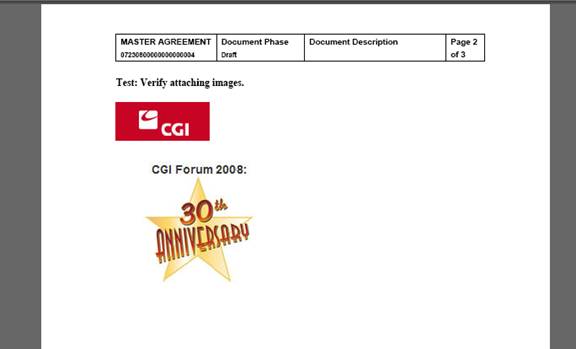
- Successful
execution of the job will generate a PDF document on Header.
Screen shot of PDF -->
- Upload the .xml file
as an attachment to the Supporting Documents component with an
attachment type of Document XML.
- The picture file (.jpg
or .gif file) should be uploaded as a separate attachment with an
attachment type of Image.
- Run the Assemble Document
job (on Header).
- Generated
PDF document.
- For attaching
multiple images, you must insert images as link
to .xml as described earlier. Multiple images can be uploaded in two
ways –
a) You
can upload the image one by one as the normal procedure or
b) Zip
the images in <any filename>.zip and upload this zip file to the
component (T&C or Supporting Document) with file type “Image(s) zipped”.
XML file with two images -->
Attach ZIP file as File type “Image(s) zipped”
Generated PDF file